Information plunger-and-barrel assy
BOSCH
9 443 611 284
9443611284
ZEXEL
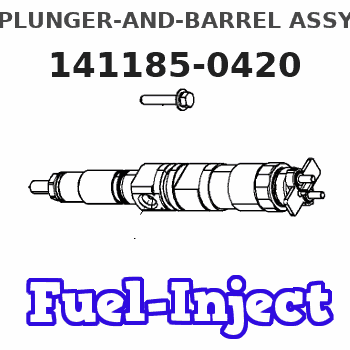
141185-0420
1411850420
DAIHATSU
E246450140Z
e246450140z
Rating:
Include in ###:
Cross reference number
Zexel num
Bosch num
Firm num
Name
141185-0420
E246450140Z DAIHATSU
PLUNGER-AND-BARREL ASSY
C 26FE PLUNGER ASSY PL(PF-W for marine) PL
C 26FE PLUNGER ASSY PL(PF-W for marine) PL
Information:
If there is clearance available, it is recommended that the oil pan be removed prior to removing the rear seal carrier. A new oil pan gasket must be installed after the rear seal carrier has been installed.1. Loosen oil pan mounting bolts (2). Carefully lower the oil pan away from the cylinder block.2. Remove eight bolts (1) and the washers that hold the rear seal carrier to the cylinder block. Using a screwdriver, carefully pry the rear seal carrier off of the two dowels in the cylinder block. The following steps are for the installation of the rear seal carrier.
1U8846 Gasket Maker is used on the joint face of the rear seal carrier. Do not allow the gasket maker to get into the oil passage in the cylinder block mounting face.
3. Prepare rear seal carrier (3) for installation as follows: a. Clean the joint face of the rear seal carrier with 8T9011 Component Cleaner.b. Apply 6V1541 Quick Cure Primer to the joint face of the rear seal carrier. Allow the primer to air dry three to five minutes.c. Apply 1U8846 Gasket Maker to the joint face of the rear seal carrier. Spread the gasket maker uniformly. The rear seal carrier must be installed within ten minutes after application of the gasket maker.4. Put rear seal carrier (3) in position on the dowels in the rear of the cylinder block. If necessary, use a soft faced hammer to position the rear seal carrier against the cylinder block.5. Apply 9S3263 Thread Lock on the threads of eight bolts (1). Install eight bolts (1) and the washers that hold the rear seal carrier to the cylinder block.6. Check the condition of the oil pan gasket. If the gasket is not damaged, raise the oil pan into position, and tighten oil pan mounting bolts (2). If the gasket is damaged, remove the oil pan, and replace the gasket. See the topic "Remove & Install Oil Pan" in this module.End By:a. install flywheel housing