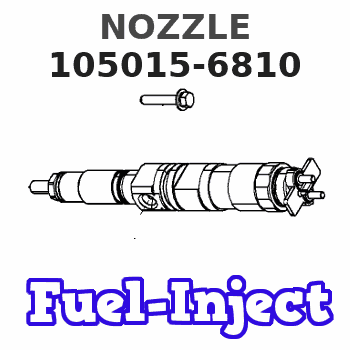
Information nozzle
BOSCH
9 432 610 212
9432610212
ZEXEL
105015-6810
1050156810
NISSAN-DIESEL
1662097018
1662097018
Rating:
Compare Prices: .
As an associate, we earn commssions on qualifying purchases through the links below

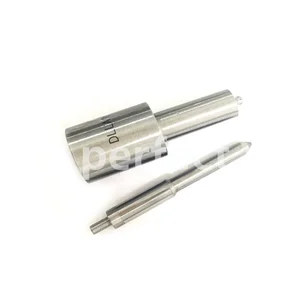
105015-6810 Fuel Injection Nozzle 4PCS DLLA152SN681 Compatible With Diesel A501 RF8 SN681
Generic 105015-6810 Fuel Injection Nozzle 4PCS DLLA152SN681 Compatible With Diesel A501 RF8 SN681
Generic 105015-6810 Fuel Injection Nozzle 4PCS DLLA152SN681 Compatible With Diesel A501 RF8 SN681

Fuel Injection Nozzle 4PCS 105015-6810 DLLA152SN681 Compatible With Nissan Diesel RF8 SN681 A501
YRWNAKUS 1. Enhance power, steady idle speed, reduce fuel consumption. || 2. Good atomization effect, reduce exhaust emissions. || 3. Easy to install, easy to install, no other modifications, save your time and effort. || 4. Excellent corrosion resistance and service life, super durable, long time use || 5. Efficient fuel injection, high impedance coil, cold environment start fast, low fuel consumption, good fuel efficiency.
YRWNAKUS 1. Enhance power, steady idle speed, reduce fuel consumption. || 2. Good atomization effect, reduce exhaust emissions. || 3. Easy to install, easy to install, no other modifications, save your time and effort. || 4. Excellent corrosion resistance and service life, super durable, long time use || 5. Efficient fuel injection, high impedance coil, cold environment start fast, low fuel consumption, good fuel efficiency.

Fuel Injection Nozzle 4PCS 105015-6810 DLLA152SN681 Compatible With Nissan Diesel RF8 SN681 A501
VBFTXZHKK Porous design || Compatible with a variety of models || Reduce engine jitter and run more quietly. || The atomization is finer, the acceleration is faster and the engine response is more sensitive. || Precise control of fuel injection, more complete fuel combustion and lower fuel consumption.
VBFTXZHKK Porous design || Compatible with a variety of models || Reduce engine jitter and run more quietly. || The atomization is finer, the acceleration is faster and the engine response is more sensitive. || Precise control of fuel injection, more complete fuel combustion and lower fuel consumption.
You can express buy:
USD 54.84
14-06-2025
14-06-2025
For NISSAN DIESEL RE8 RE10 RF8 RF10 6x Injector Nozzle 105015-6810 DLLA152SN681
US $5.20
05-01-2017
05-01-2017
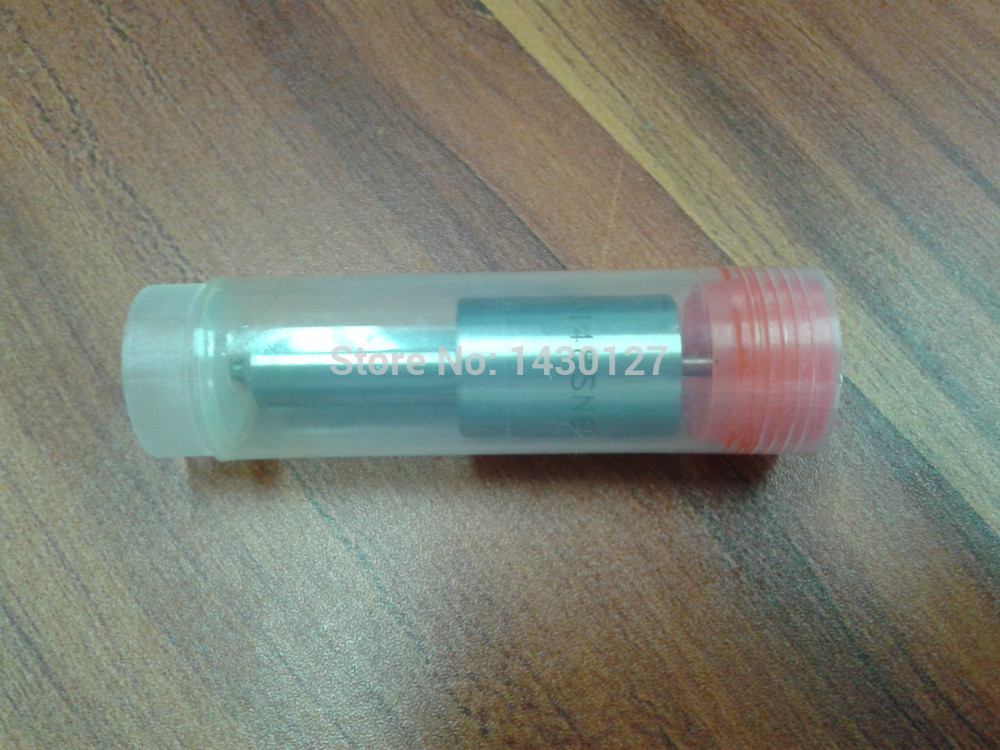
105015-6810 DLLA152SN681 High quality diesel fuel Injector nozzle
US $5.20
09-12-2016
09-12-2016
105015-6810 DLLA152SN681 High quality diesel fuel Injector nozzle
Images:
US $5.20
[04-Dec-2016]
US $5.20
[26-Apr-2017]
Include in #1:
106871-0382
as NOZZLE
Cross reference number
Zexel num
Bosch num
Firm num
Name
Information:
Use of the Pickup During Wet Conditions
If the pickup becomes wet, it may operate intermittently or not at all. Although the pickup is water resistant, it is not waterproof. Water spray from rain or other sources may cause the pickup to stop producing an output signal.If this happens, the pickup should be removed from the engine and allowed to dry out thoroughly. If necessary, the pickup can be dried in an oven at approximately 50°C (122°F). After drying, the pickup should operate correctly.If it is not possible to keep the pickup dry, use the following procedure: If the pickup must be used during wet conditions, it may be possible to protect it from moisture by using a water displacing spray such as WD-40®.Remove the pickup from the engine. Thoroughly spray the pickup from all directions. Make sure the pickup is completely covered with the spray. Reinstall the pickup on the engine and check its operation.When water first contacts the pickup, the unit may stop working temporarily, but will start working again after the water has been displaced by the solution. If necessary, spray the solution on the pickup after installation on the injection line.Permanent Installation on the Engine
If the pickup is to be permanently installed on the engine, install the pickup on the fuel injection line in the usual manner. Make sure that the thumbscrew is hand tightened securely, but not over tightened. Run the engine and check the operation of the pickup.Make sure that the pickup and line are clean and dry. If the pickup is working correctly, use a can of spray paint to thoroughly paint the pickup from all directions. Several coats should be applied. Let the paint dry thoroughly before operating the engine.Checking the Operation of the Amplifier and Pickup
(1) 6V2100 Multitach. (2) 5P9698 Calibrator. (3) 5P7366 Power Cable. (4) Digital Multimeter. (5) Screwdriver. (6) 6V6152 Adapter. Screwdriver (5) should have a blade approximately 150 mm (6 in) long with 6 mm (.25 in) diameter shaft of round bare metal (not anodized or insulated).The 6V6152 Adapter (6) is a phono plug-to-BNC connector. Modifications must be made to the 5P9698 Calibrator (2). Refer to Special Instruction, SMHS7504-01.Checking the 4C6812 Amplifier
(1) 6V6152 Adapter Plug. (2) 5P9698 Calibrator. (3) 4C6812 Amplifier. (4) Connector. (5) 5P7366 Power Cable. (6) Knob. (7) Battery Indicator. (8) No Input Signal Light.1. Install 6V6152 Adapter Plug (1) on the end of the output cable on 5P9698 Calibrator (2). Plug the adapter into 4C6812 Amplifier (3).2. Check the operation of the multitach being used by performing the CHECKING PHOTO OPERATION test procedure contained in Special Instruction SEHS7807. (This is to ensure it is operating correctly on PHOTO operation.)3. Plug connector (4), on the end of the amplifier output cable, into the PH (photo) connector on the multitach. Attach 5P7366 Power Cable (5) to the multitach and to a suitable power source. Refer to SEHS7807.4. Program the multitach for .5 P/REV and to read R/MIN on the PH (photo) input. Turn knob (6) on