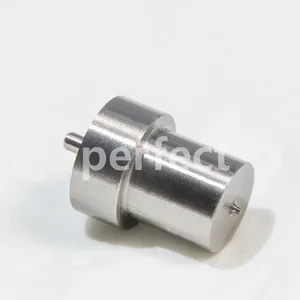
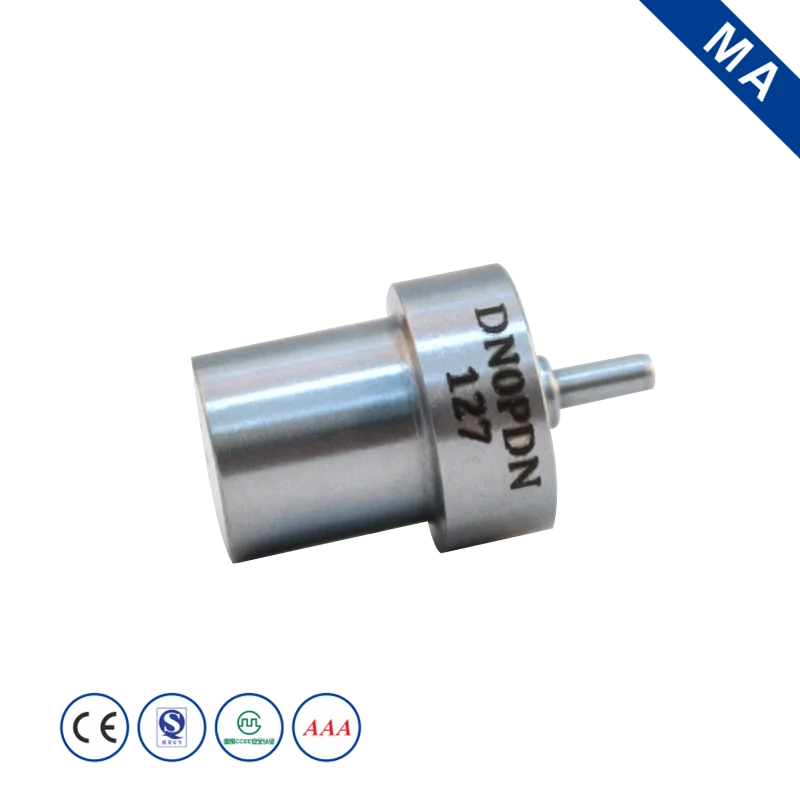
Information nozzle
BOSCH
9 432 610 281
9432610281
ZEXEL
105007-1271
1050071271
ISUZU
8970811580
8970811580

Rating:
Compare Prices: .
As an associate, we earn commssions on qualifying purchases through the links below

BLLBD Diesel Fuel Injector Nozzle DN0PD650 DN0PD605 DN15PD100 DN15PD609 DN0PDN127 DN0PDN137 DN4PDN165 DN4PDN154 DN0PD2 YDN0PD2 Oem Fuel Injectors Replacement Fuel Injectors(DN15PD100)
BLLBD Accurate adaptation: developed according to the original data, interface, size, pressure value Perfectly , eliminating the installation of oil leakage or ECU error problems, to ensure seamless connection with the vehicle system, to avoid the risk of power loss or failure due to incompatibility. || Easy to install: Adopting the same specification interface design of the original factory, supporting DIY installation No need for professional tools to complete the replacement Regular use of cleaning agents can be maintained, no need for frequent disassembly, saving maintenance costs. || Highly durable material: adopting high-precision processing technology and anti-pollution material, reducing the clogging problem caused by impurities or carbon deposits High temperature and high pressure resistance, adapting to urban congestion, long distance and high speed and other road conditions, to ensure long-term stability Reducing the frequency of replacement || Improve cold-start performance Reduce jerks: precise injection control ensures fuel atomization in low temperature environment Shorten cold-start time, improve idle instability and enhance driving comfort. || Reduced fuel consumption: High-pressure solenoid valve design ensures fuller combustion, thus reducing fuel waste, and overall fuel consumption can be reduced by 5%-10%.
BLLBD Accurate adaptation: developed according to the original data, interface, size, pressure value Perfectly , eliminating the installation of oil leakage or ECU error problems, to ensure seamless connection with the vehicle system, to avoid the risk of power loss or failure due to incompatibility. || Easy to install: Adopting the same specification interface design of the original factory, supporting DIY installation No need for professional tools to complete the replacement Regular use of cleaning agents can be maintained, no need for frequent disassembly, saving maintenance costs. || Highly durable material: adopting high-precision processing technology and anti-pollution material, reducing the clogging problem caused by impurities or carbon deposits High temperature and high pressure resistance, adapting to urban congestion, long distance and high speed and other road conditions, to ensure long-term stability Reducing the frequency of replacement || Improve cold-start performance Reduce jerks: precise injection control ensures fuel atomization in low temperature environment Shorten cold-start time, improve idle instability and enhance driving comfort. || Reduced fuel consumption: High-pressure solenoid valve design ensures fuller combustion, thus reducing fuel waste, and overall fuel consumption can be reduced by 5%-10%.

YDN0PD2 DN0PDN127 DN0PDN137 DN4PDN165 DN4PDN154 DN0PD2 DN0PD704 DN0PD12 DN4PD681 DN0PD124 Compatible for Diesel Fuel Injection Nozzle(DN0PD704)
ZYKHPSYA Intelligent fuel control: The fuel injector is equipped with an intelligent control system that dynamically adjusts fuel injection based on driving conditions, providing improved fuel efficiency. || High-precision injection: The fuel injection nozzle can atomize fuel with extremely high precision, ensuring each step of combustion is optimized. || Low noise and vibration: The fuel injection nozzle reduces engine noise and vibration by utilizing a more precise combustion process, providing a smoother and quieter driving environment. || Adapting to different driving modes: The fuel injection nozzle has the capability to switch between multiple driving modes, ranging from economy mode to sport mode, in order to meet the requirements of different driving styles. || Automatic fault diagnosis: The fuel injection nozzle is equipped with self-diagnostic capabilities, enabling it to detect and report potential faults, providing a more convenient maintenance and repair process.
ZYKHPSYA Intelligent fuel control: The fuel injector is equipped with an intelligent control system that dynamically adjusts fuel injection based on driving conditions, providing improved fuel efficiency. || High-precision injection: The fuel injection nozzle can atomize fuel with extremely high precision, ensuring each step of combustion is optimized. || Low noise and vibration: The fuel injection nozzle reduces engine noise and vibration by utilizing a more precise combustion process, providing a smoother and quieter driving environment. || Adapting to different driving modes: The fuel injection nozzle has the capability to switch between multiple driving modes, ranging from economy mode to sport mode, in order to meet the requirements of different driving styles. || Automatic fault diagnosis: The fuel injection nozzle is equipped with self-diagnostic capabilities, enabling it to detect and report potential faults, providing a more convenient maintenance and repair process.

You can express buy:
USD 41.06
14-06-2025
14-06-2025
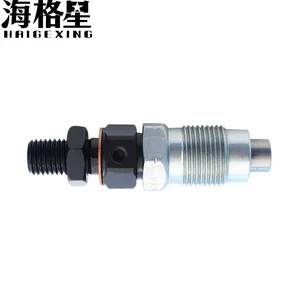
For ISUZU Trooper D-MAX Holden Rodeo 4JG2 4JG2T Injector Nozzle DN0PDN127 105007-1271
USD 10.06
03-06-2025
03-06-2025
New High-Quality Diesel Engine Injector 105007-1271 Suitable For DN0PDN127 Nozzle Injector PD THYGA18S38
USD 5
13-05-2025
13-05-2025
DN0PDN127 Automotive engine parts injection nozzle 105007-1271 9432610281 Suitable for 4JG2 / 4JG2-TC engine DTJA29Z31
Images:
USD 5

[13-May-2025]
USD 4.96

[13-May-2025]
USD 9.6

[13-May-2025]
Include in #2:
104741-5860
as NOZZLE
Cross reference number
Zexel num
Bosch num
Firm num
Name
Information:
start by: a) separation of governor from fuel injection pump housing1. Remove the cover (16) from rack centering pin. Move the rack to the fuel "OFF" position, and push in on the centering pin (15). Install the cover (16) as shown to keep the centering pin in position during disassembly and assembly of injection pump housing. 2. Move the rack toward the fuel "ON" position until the slot in rack (13) is against the rack centering pin (15). The rack is now in the "CENTER" position.
Do not try to remove the fuel injection pumps if the rack is not in "CENTER" position.
3. Remove the fuel injection pumps as follows: a) Remove the caps and felt washer (1).b) Install wrench (A), and remove the bushing (2) from housing. c) Install extractor (B).d) Remove the bushing (2) and wrench (A).e) Remove the seal (3).f) Lift the fuel injection pump up and out of housing.g) Remove the spacer (9). Keep the spacer (9) together with its respective fuel injection pump. Put identification on the pumps and spacers as to their location in the pump housing.4. Disassemble the fuel injection pumps as follows: a) Remove the ring (7), bonnet (4), check valve (6), and spring (5) from barrel (8).b) Remove the plunger assembly (11), washer (12), and spring (10) from barrel (8).
Be very careful when disassembling and assembling the fuel injection pumps to prevent damage to the plunger surfaces. The barrel and plunger assemblies are fitted together, and must not be used with other barrels or plunger assemblies.
5. Remove the rack centering pin, spring, and cover. 6. Remove the rack (13), and lifters (14). Put identification on the lifters as to their location in the pump housing. Keep the lifters with their respective pumps and spacers. 7. Remove the bolt, lock, and plate (17) from the camshaft. Remove the spring and gear assembly (18).8. Remove the camshaft (20) from pump housing.9. Remove the rack bearings (19) from housing. 10. Use tool setup (C) to remove the camshaft bearings from the fuel injection pump housing.Assemble Fuel Injection Pump Housing
1. Use tool group (D) to install the rack bearing in the accessory drive housing end of injection pump housing.2. Install the rack bearing in governor end of housing using tool setup (E). The bearing must be installed .195 .005 in. (4.95 0.13 mm) below outside face of pump housing.3. Use tool group (C) to install the camshaft bearings in housing. Make sure the oil holes in bearings are in alignment with oil holes in pump housing. 4. Put clean engine oil on the camshaft bearings. Install the camshaft (1) in pump housing. 5. Install the gear (3), spring, plate, lock, and bolt (2) on the camshaft.6. Put clean engine oil on lobes of camshaft. 7. Install the lifters (4) in their respective positions in pump housing. Install the spacers in their correct locations in housing. If new lifters are to be installed, it will be necessary to check the timing