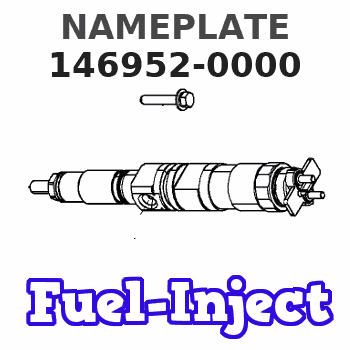
Information nameplate
BOSCH
9 461 623 448
9461623448
ZEXEL
146952-0000
1469520000
Rating:
Compare Prices: .
As an associate, we earn commssions on qualifying purchases through the links below

Switching Power Supply 1469520000 PRO ECO 960W 24V 40A Switching Power Supply
EQBVZZRD Durability: Making it suitable for rigorous industrial use || Compact and Efficient Cooling: This power supply fits in tight spaces and utilizes a metal enclosure for enhanced heat dissipation || High Efficiency for Reduced Energy Costs: Minimizes energy consumption and operating costs || Built for Reliability and Long-Term Performance: Robust construction and comprehensive protection features ensure reliable; long-term operation in demanding industrial applications
EQBVZZRD Durability: Making it suitable for rigorous industrial use || Compact and Efficient Cooling: This power supply fits in tight spaces and utilizes a metal enclosure for enhanced heat dissipation || High Efficiency for Reduced Energy Costs: Minimizes energy consumption and operating costs || Built for Reliability and Long-Term Performance: Robust construction and comprehensive protection features ensure reliable; long-term operation in demanding industrial applications

FEGIANCHE Power Supply, Switch-Mode Power Supply Unit 1469520000 960W 24V 40A
FEGIANCHE Small size: Compact and space saving || Wide range of applications: Mainly for industrial automation || Convenient: Easy to install and use || Stability: Can be used stably for a long time || Durable: long service life
FEGIANCHE Small size: Compact and space saving || Wide range of applications: Mainly for industrial automation || Convenient: Easy to install and use || Stability: Can be used stably for a long time || Durable: long service life

1469520000 New and Sealed in Box 1469520000
LANNIU Model:1469520000 || Type: Industrial Automation Product || Condition: New and Sealed in box. || Customer-oriented. We are devoted to providing excellent customer service || MuYan is spealized in PLC hardwares covering leading brands for more than one decade. We have large stock in the warehouse. You are most welcome to consult us online for any model and quantity for good prices.
LANNIU Model:1469520000 || Type: Industrial Automation Product || Condition: New and Sealed in box. || Customer-oriented. We are devoted to providing excellent customer service || MuYan is spealized in PLC hardwares covering leading brands for more than one decade. We have large stock in the warehouse. You are most welcome to consult us online for any model and quantity for good prices.
Include in #2:
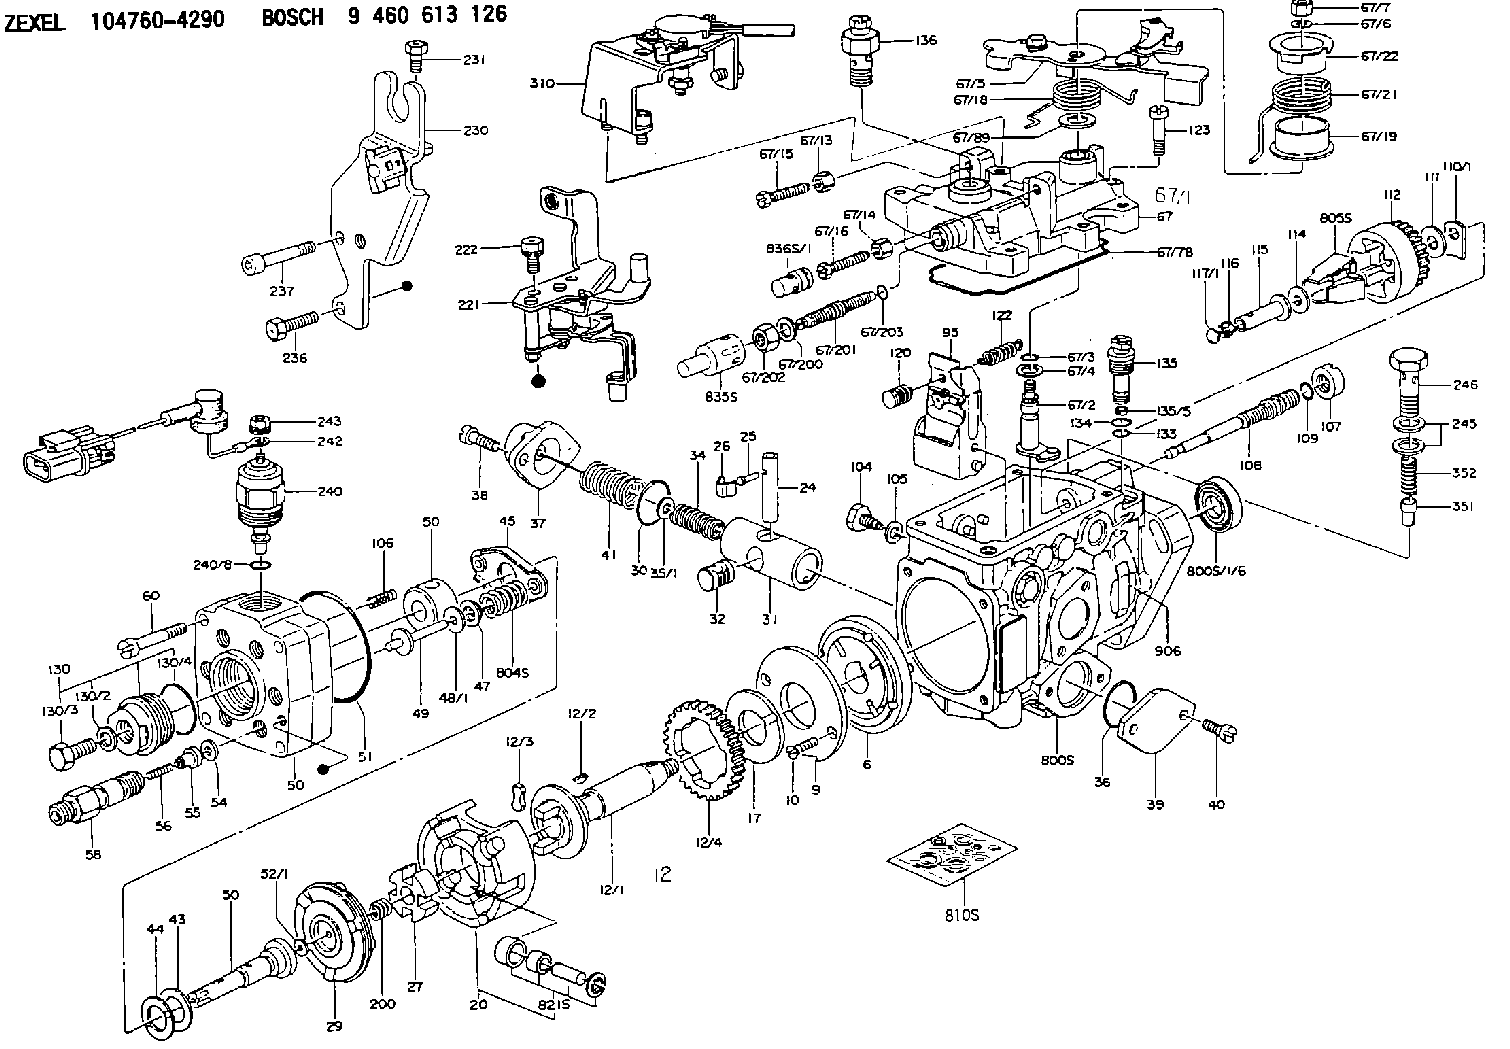
104760-4290
as NUMBER PLATE
Include in ###:
Cross reference number
Zexel num
Bosch num
Firm num
Name
146952-0000
9 461 623 448
NAMEPLATE
C 11FV NUMBER PLATE parts(VE) Others
C 11FV NUMBER PLATE parts(VE) Others
Information:
1. Remove fuel line (1) and (3) from the fuel transfer pump.2. Put caps in the fuel line openings to prevent fuel system contamination.3. Remove bolts (2), and remove fuel transfer pump (4). Check the condition of the O-ring seal on the fuel transfer pump. If necessary, make a replacement. The following steps are for installtion of the fuel transfer pump.4. Be sure the O-ring seal is in position on the fuel transfer pump. Put clean engine oil on the O-ring seal.5. Put fuel transfer pump (4) in position, and install the bolts that hold it in place.6. Remove the caps from the fuel line openings, and install fuel lines (1) and (3).Disassemble Fuel Transfer Pump
Start By:a. remove fuel transfer pump 1. Remove seal (1) from the fuel transfer pump.
Cover (2) is under spring tension. Remove the bolts that hold cover (2) slowly to prevent injury.
2. Remove bolts (3) and cover (2) from the housing. 3. Remove seals (4) and valve (5) from cover (2). 4. Remove spring (6) from the piston.
Mark the orientation of valve (8) as to its location in the housing.
5. Remove washer (7), valve (8) and the seal from the housing. 6. Remove piston (9) and sleeve (10) from the housing. 7. Remove seal (11) from sleeve (12). 8. Remove guide and tappet assembly (13) from the housing. 9. Remove seal (14) from guide (15).
If tappet (17) or the guide are damaged or worn, they must be replaced as a unit.
10. Remove ring (16) from tappet (17) and the tappet from guide (15). 11. Remove the bolts and cover (18) from the housing. 12. Remove seal (19) from cover (18). 13. Remove valve (20) from the housing if necessary.Assemble Fuel Transfer Pump
1. Install valve (20) in housing as shown. 2. Put clean fuel on seal (19), and install it on cover (18).3. Install cover (18) on the housing.
The tappet and guide must be serviced as a unit.
4. Install tappet (17) in guide (15). Install ring (16) on tappet (17) to hold the tappet in the guide. 5. Put clean fuel on seal (14), and install it on guide and tappet assembly (13).6. Install guide and tappet assembly (13) in the housing as shown. 7. Put clean fuel on seal (11), and install it on sleeve (12).8. Install sleeve (12) in the housing. 9. Install piston (9) in the housing. 10. Install seal, valve (8) and washer (7) in the housing as shown. Be sure valve (8) is the correct position in the housing. 11. Install spring (6) in the piston. 12. Install valve (5) in cover (2) as shown.13. Put clean fuel on seals (4), and put them in position on cover (2).14. Install cover (2) on the housing. 15. Put seal (1) in position on the fuel transfer pump.16. Install the fuel transfer pump on the fuel injection pump housing.End By:a. install fuel transfer pump
Have questions with 146952-0000?
Group cross 146952-0000 ZEXEL
146952-0000
9 461 623 448
NAMEPLATE