Information injector
BOSCH
0 445 110 214
0445110214
ZEXEL
107750-0271
1077500271
TOYOTA
236700N020A
236700n020a

Rating:
Compare Prices: .
As an associate, we earn commssions on qualifying purchases through the links below

1pc 0445110085 0445110142 0445110214 0445110215
VNPOTTIQ
VNPOTTIQ
1pc 0445110085 0445110142 0445110214 0445110215
RCEOUCTMK
RCEOUCTMK
You can express buy:
USD 164.99
27-06-2025
27-06-2025
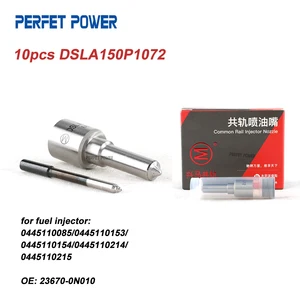
10pcs XINGMA DSLA150P1072 Fuel Injection Nozzle for 0445110085 0445110153 0445110154 0445110214 0445110215 Fuel Injector
USD 16.26
28-05-2025
28-05-2025
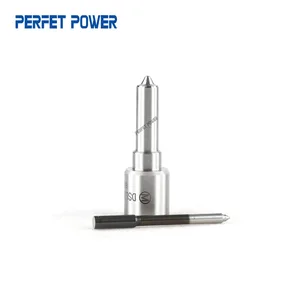
XINGMA DSLA150P1072 Fuel Injector Nozzle for 0445110085 0445110153 0445110154 0445110214 0445110215 Fuel Injector
USD 36.99
18-06-2025
18-06-2025
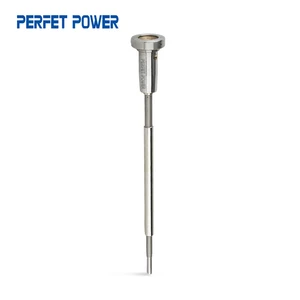
4pcs F00VC01306, F 00V C01 306 Control Valve for 0445110085 0445110142 0445110143 0445110153 0445110154 0445110214 0445110215
Images:
USD 9.23

[18-Jun-2025]
USD 22.59

[10-May-2025]
USD 9.26

[29-Jun-2025]
USD 17.13

[24-Jun-2019]
Cross reference number
Zexel num
Bosch num
Firm num
Name
Information:
2. Remove bolts (3) from cover (1). Remove bolt and washer (2) and remove tube and adapter (4). 3. Remove adapter (5) from tube (4). Remove four O-ring seals (6) from tube (4). 4. Remove four bolts (7), elbow (9) and two adapters (8). 5. Remove four bolts (11), elbow (12), two adapters (10) and pipe (13). 6. Remove twenty-four bolts (15). Remove aftercooler cover (14). 7. Remove aftercooler core (16) from aftercooler housing (17). 8. Remove O-ring seals (19) and gaskets (18) if necessary. The following steps are for the installation of the aftercooler core.9. Clean and inspect all parts. Make a replacement of the parts that are worn or damaged. Lubricate O-ring seals with clean oil at assembly.10. Install O-ring seals (19). Fasten gaskets (18) to both sides of the aftercooler core flange with 5H2471 Cement.11. Install aftercooler core (16) in the aftercooler housing with the end that has the identification "Jacket Water, Fresh Air" or "Treated Water, Fresh Air" toward the water inlet end of the aftercooler housing.12. Install cover (14) on aftercooler housing (17).
To prevent damage to the aftercooler core, tighten the bolts that hold the aftercooler core before tightening the bolts that hold the adapters.
13. Tighten the aftercooler core cover bolts to a torque of 25 7 N m (18 5 lb. ft.). Tighten the bolts again after the engine is operated to a torque of 25 7 N m (18 5 lb. ft.).14. Install the gaskets and adapters (10) on the aftercooler housing. 15. Put O-ring seals (20) on pipe (13) and install pipe (13) into elbow (21).16. Install elbow (12) on pipe (13). Put a gasket between the adapters and elbow (12). Install bolts (11).17. Install gaskets and adapters (8) on the aftercooler housing. Install a gasket and elbow (9). Install bolts (7).18. Install O-ring seals (6) on tube (4). Install adapter (5) on tube (4).19. Install the gasket, adapter and tube (4). Install washer and bolt (2). Install the gasket and cover (1). Tighten bolts (3) to 23 4 N m (17 3 lb. ft.).20. Fill the engine with oil to the correct level. See the Maintenance Manual.