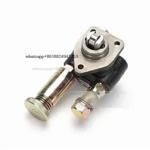
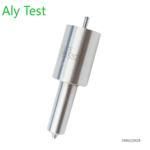
Information injection-pump assembly
ZEXEL
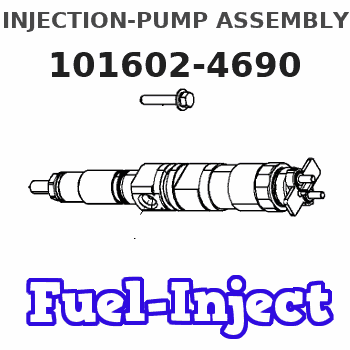
101602-4690
1016024690
ISUZU
1156021450
1156021450
Rating:
Service parts 101602-4690 INJECTION-PUMP ASSEMBLY:
1.
_
5.
AUTOM. ADVANCE MECHANIS
6.
COUPLING PLATE
8.
_
9.
_
11.
Nozzle and Holder
1-15300-196-1
12.
Open Pre:MPa(Kqf/cm2)
14.7{150}
15.
NOZZLE SET
Include in #1:
101602-4690
as INJECTION-PUMP ASSEMBLY
Include in #2:
104749-1490
as _
Cross reference number
ZEXEL
101602-4690
1016024690
ISUZU
1156021450
1156021450
Zexel num
Bosch num
Firm num
Name
Calibration Data:
Adjustment conditions
Test oil
1404 Test oil ISO4113 or {SAEJ967d}
1404 Test oil ISO4113 or {SAEJ967d}
Test oil temperature
degC
40
40
45
Nozzle and nozzle holder
105780-8140
Bosch type code
EF8511/9A
Nozzle
105780-0000
Bosch type code
DN12SD12T
Nozzle holder
105780-2080
Bosch type code
EF8511/9
Opening pressure
MPa
17.2
Opening pressure
kgf/cm2
175
Injection pipe
Outer diameter - inner diameter - length (mm) mm 6-2-600
Outer diameter - inner diameter - length (mm) mm 6-2-600
Overflow valve opening pressure
kPa
157
123
191
Overflow valve opening pressure
kgf/cm2
1.6
1.25
1.95
Tester oil delivery pressure
kPa
157
157
157
Tester oil delivery pressure
kgf/cm2
1.6
1.6
1.6
Direction of rotation (viewed from drive side)
Right R
Right R
Injection timing adjustment
Direction of rotation (viewed from drive side)
Right R
Right R
Injection order
1-5-3-6-
2-4
Pre-stroke
mm
3.6
3.55
3.65
Beginning of injection position
Drive side NO.1
Drive side NO.1
Difference between angles 1
Cal 1-5 deg. 60 59.5 60.5
Cal 1-5 deg. 60 59.5 60.5
Difference between angles 2
Cal 1-3 deg. 120 119.5 120.5
Cal 1-3 deg. 120 119.5 120.5
Difference between angles 3
Cal 1-6 deg. 180 179.5 180.5
Cal 1-6 deg. 180 179.5 180.5
Difference between angles 4
Cyl.1-2 deg. 240 239.5 240.5
Cyl.1-2 deg. 240 239.5 240.5
Difference between angles 5
Cal 1-4 deg. 300 299.5 300.5
Cal 1-4 deg. 300 299.5 300.5
Injection quantity adjustment
Adjusting point
A
Rack position
8.7
Pump speed
r/min
1050
1050
1050
Average injection quantity
mm3/st.
60
59
61
Max. variation between cylinders
%
0
-2
2
Basic
*
Fixing the lever
*
Injection quantity adjustment_02
Adjusting point
-
Rack position
6.4+-0.5
Pump speed
r/min
375
375
375
Average injection quantity
mm3/st.
8
6.7
9.3
Max. variation between cylinders
%
0
-14
14
Fixing the rack
*
Remarks
Adjust only variation between cylinders; adjust governor according to governor specifications.
Adjust only variation between cylinders; adjust governor according to governor specifications.
Test data Ex:
Governor adjustment
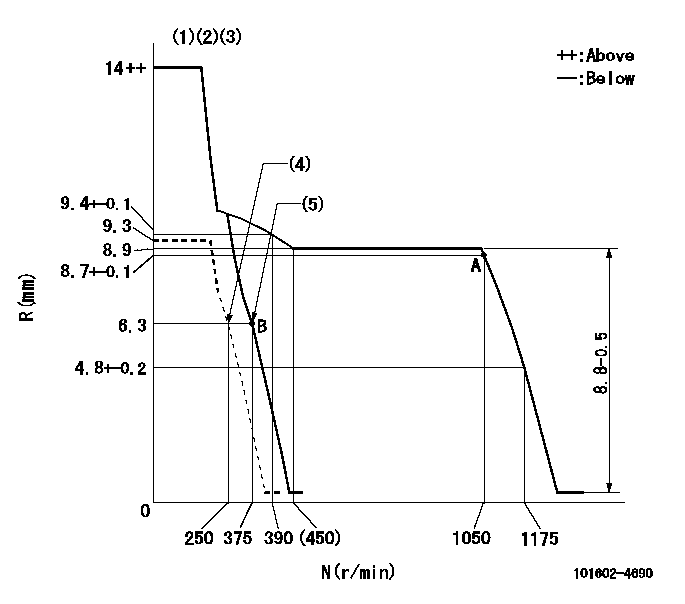
N:Pump speed
R:Rack position (mm)
(1)Target notch: K
(2)Tolerance for racks not indicated: +-0.05mm.
(3)The torque control spring does not operate.
(4)Set idle sub-spring
(5)Main spring setting
----------
K=17
----------
----------
K=17
----------
Speed control lever angle
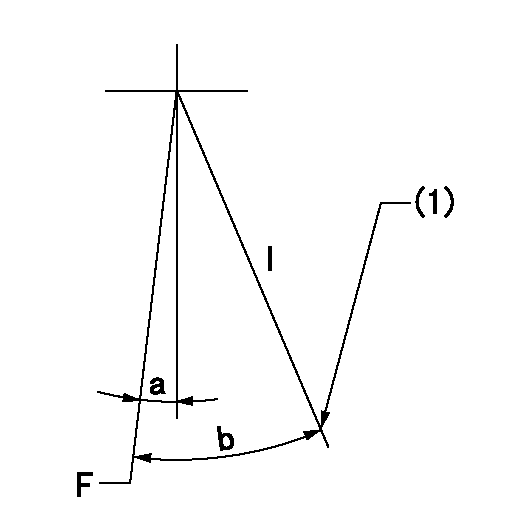
F:Full speed
I:Idle
(1)Stopper bolt setting
----------
----------
a=5deg+-5deg b=17deg+-5deg
----------
----------
a=5deg+-5deg b=17deg+-5deg
Stop lever angle

N:Pump normal
S:Stop the pump.
(1)Normal
----------
----------
a=12deg+-5deg b=46deg+-5deg
----------
----------
a=12deg+-5deg b=46deg+-5deg
Timing setting
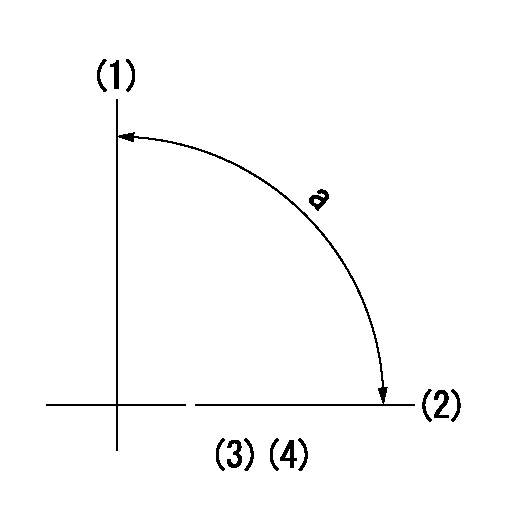
(1)Pump vertical direction
(2)Position of gear mark 'CC' at No 1 cylinder's beginning of injection
(3)B.T.D.C.: aa
(4)-
----------
aa=20deg
----------
a=(90deg)
----------
aa=20deg
----------
a=(90deg)
Information:
* Remove any carbon deposits from the injection nozzles before disassembling, assembling, or adjusting the injection nozzle assembly. Before disassembling, check the pressure and shape of the spray and inspect the assembly for fuel leakage. Do not disassemble if no defects are evident.* Do not change the needle valve and nozzle combination on each cylinder.
* Assembly sequenceFollow the disassembly sequence in reverse.Service standards Tightening torque (Unit: N m {kgf m}) Special tools (Unit: mm) Inspection before removal
Inspection: Injection nozzle* Connect the injection nozzle to the nozzle tester and carry out the following inspections.
* Before starting the inspections, operate the lever on the nozzle tester two or three times to bleed out all the air.
(1) Checking the valve opening pressure* Push down the lever on the nozzle tester at a rate of one to two seconds per stroke. This will cause the pressure gauge reading to rise gradually, and the needle will suddenly deflect. Note the pressure at which the needle starts to deflect. * If the measurement is out of the standard value range, disassemble the nozzle, clean it, and then adjust it using an adjusting shim.* Available adjusting shims (thickness): 1.2 mm to 1.7 mm (11 different thicknesses in increments of 0.05 mm)* If the valve opening pressure is still incorrect after the adjustment, replace the injection nozzle assembly.
* Do not touch the spray that comes out of the nozzle.
(2) Inspecting the spray condition * Pump the lever on the nozzle at a rate of about one to two seconds per stroke and keep it spraying continuously.A Spray in the form of straight line (Good: spray angle at 10° or less)B Spray angle too large (Bad)C Spray deviates from centerline (Bad)D Irregular spray (Bad)
* Do not touch the spray that comes out of the nozzle.
* Check that no fuel drips from the nozzle after the spray is complete.* If defects are evident, disassemble and clean the injection nozzle, and then inspect its spray condition once again.* If defects persist after reinspection, replace the injection nozzle assembly.(3) Checking for leakage * Decrease the nozzle pressure to a pressure 1960 kPa {20 kgf/cm2} lower than the first valve opening pressure. Maintain this pressure for 10 seconds and check that no fuel drips from the end of the nozzle.* If fuel drips are evident, disassemble and clean the injection nozzle, and then perform a leakage test once again.* If leakage is detected during the reinspection, replace the injection nozzle assembly.Removal procedure
Removal: Injection nozzle
* Do not touch the sliding surfaces of the needle valve. If you accidentally touch it, clean it with a cleaning fluid (such as gas oil).* Do not change the needle valve and nozzle combination on each cylinder.
Cleaning procedure
Cleaning: Injection nozzle* Wash the needle valve and nozzle in a cleaning fluid (such as gas oil), then use
to remove any carbon deposits according to the following procedure. * Remove carbon deposits from the tip of the needle valve using the clean bar of
.
* Do not use a wire brush
