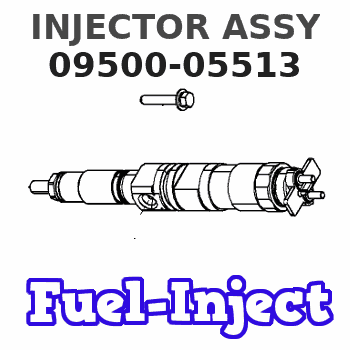
Information injector assy
Rating:
Compare Prices: .
As an associate, we earn commssions on qualifying purchases through the links below

0950005513 095000-5513 6PCS Fuel Injector for Isuzu 6WG1 Hitachi ZX400-7
TUWODE Part Number: 950005513 095000-5513 || Item Type: Fuel Injector || Applicable Models: Fit for Isuzu 6WG1 Hitachi ZX400-7 || Well-functioning fuel injectors ensure the correct air-fuel ratio, which is essential for minimizing harmful emissions. || Fuel is broken into fine droplets for optimal air mixing and enhanced combustion efficiency.
TUWODE Part Number: 950005513 095000-5513 || Item Type: Fuel Injector || Applicable Models: Fit for Isuzu 6WG1 Hitachi ZX400-7 || Well-functioning fuel injectors ensure the correct air-fuel ratio, which is essential for minimizing harmful emissions. || Fuel is broken into fine droplets for optimal air mixing and enhanced combustion efficiency.

1pc Fuel Injector 095000-5511 095000-5512 095000-5513, Compatible For Hino N SERIES6WG1 Engines,Excavator Accessories Parts
QEDADXD Enhanced Engine Efficiency: Optimize fuel efficiency and overall engine performance with this high-quality fuel injector. || Perfect Compatibility: Specifically designed for N SERIES 6WG1 engines, ensuring a seamless fit for excavators. || Reliable Fuel Injection: Delivers precise fuel injection for smooth and consistent engine operation under heavy-duty conditions. || Durable Construction: Built to withstand the rigorous demands of excavator operations, ensuring long-lasting performance. || Improved Engine Power: Boosts engine power and ensures smooth operation, even under tough working conditions.
QEDADXD Enhanced Engine Efficiency: Optimize fuel efficiency and overall engine performance with this high-quality fuel injector. || Perfect Compatibility: Specifically designed for N SERIES 6WG1 engines, ensuring a seamless fit for excavators. || Reliable Fuel Injection: Delivers precise fuel injection for smooth and consistent engine operation under heavy-duty conditions. || Durable Construction: Built to withstand the rigorous demands of excavator operations, ensuring long-lasting performance. || Improved Engine Power: Boosts engine power and ensures smooth operation, even under tough working conditions.

shsiyayh 1PCS Fuel Injector for Isuzu 6WG1 Hitachi ZX400-7 095000-5513 0950005513
shsiyayh Part Name:Fuel Injector || Part Number:095000-5513 0950005513 || APPlication: Compatible with Isuzu 6WG1 Hitachi ZX400-7 || 1.Please tell us of your engine model or a view of nameplate when order this item to lower the error rate.Thanks. || 2.There are no instructions included in this kit.it is recommended to install professionally.
shsiyayh Part Name:Fuel Injector || Part Number:095000-5513 0950005513 || APPlication: Compatible with Isuzu 6WG1 Hitachi ZX400-7 || 1.Please tell us of your engine model or a view of nameplate when order this item to lower the error rate.Thanks. || 2.There are no instructions included in this kit.it is recommended to install professionally.
You can express buy:
USD 99.99
19-05-2025
19-05-2025
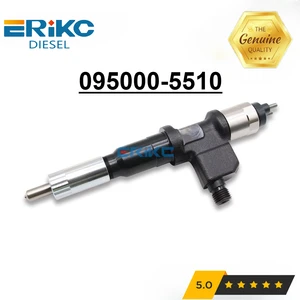
New Diesel Injector 095000-5510 Common Rail Nozzle Assy 095000-5513 095000-5516 for Isuzu N-Series 6WG1 15.7L 095000-5511
USD 59
19-05-2025
19-05-2025
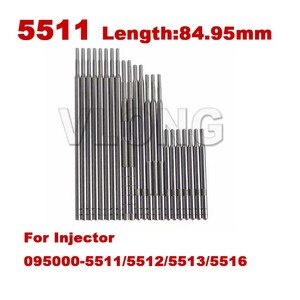
Common Rail Valve Rod 5511 For Injector 095000-5511 095000-5512 095000-5513 095000-5516 Fuel Inyector Valve Stem Length 84.95mm
USD 1190
13-05-2025
13-05-2025
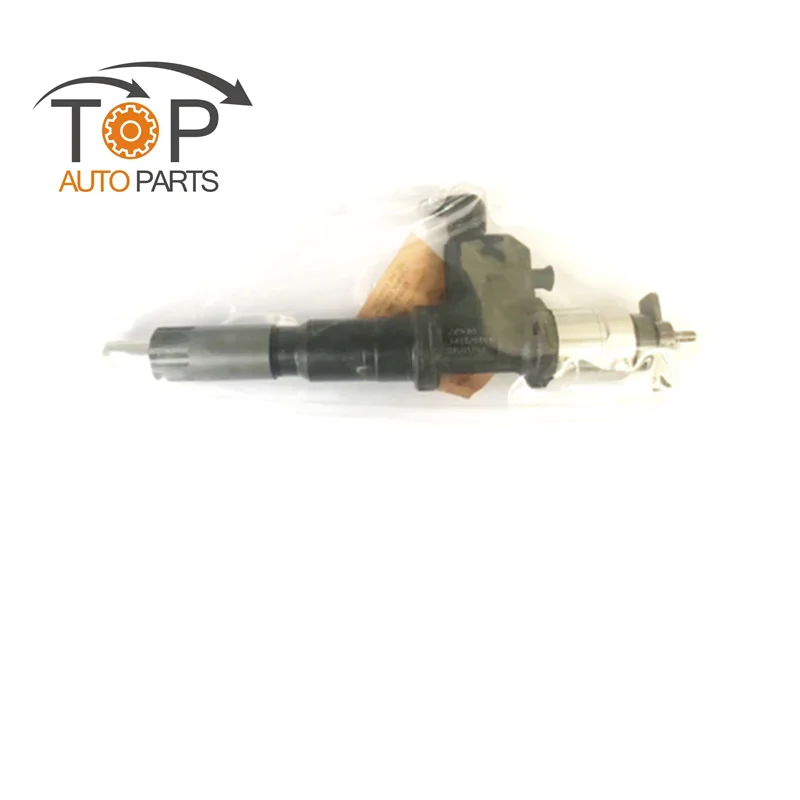
6PCS 095000-5511 8-97603415-8 095000-5512 095000-5517 095000-5513 Fuel Common Rail Injector for Hitachi ZX40 for Isuzu 6WG1
Images:
USD 64.29

[13-May-2025]
USD 61.22

[13-May-2025]
USD 79.74

[14-Jun-2025]
USD 163.44

[13-May-2025]
Include in #3:

Cross reference number
| Part num | Firm num | Firm | Name |
| 09500-05513 | 8-97603415 | INJECTOR ASSY |
Information:
Keep all parts clean from contaminants. Contaminants put into the system may cause rapid wear and shortened component life.
Illustration shows the fuel shutoff solenoid and the tachometer adapter removed.1. Remove six bolts (1), two top bolts (2), housing (3) and the gasket. 2. Remove governor spring (4) and seat (5). 3. Remove bolts (6), cover (7) and the gasket. Use tool (A) to remove seal (8). 4. Remove low idle adjustment screw (9) and spring (10). 5. Remove shaft assembly (12) and levers (11) and (13). 6. Remove the two snap rings from pins (15) and remove pins (15). Remove plates (14) and stop (16). 7. Remove pins (18) and (17) and spring (19). 8. Remove two bolts (20) adapter (22), the coupling, and the O-ring seal.9. Remove contact (23) and body (24).10. Remove two bolts (25), cover (27), and the gasket.11. Remove two bolts (21), shutoff solenoid (26), and the gasket. 12. Remove shaft (28) and lever (29).
The check valve will be damaged during removal. Remove check valve (30) only if a replacement is necessary.
13. Remove check valve (30) if a replacement is necessary. 14. Remove seal (31) and adjustment screw (32).
Typical Example15. Remove bolt (33), housing (34), and the gasket from the fuel injection pump housing. 16. Remove bolts (35) and torque control group (36).17. Disassemble the torque control group and inspect the spacer, the spring and the insulator for damage or wear. 18. Remove two bolts (38) and block (37). 19. Remove the bolt that holds collar (39) to bolt (40). Remove collar (39), spring (41) and bolt (40).20. Remove the stop screw from collar (39) if a replacement is necessary. 21. Remove bolts (42) and governor servo (43). 22. Remove lockring (48), seat (47), spring (broken link spring) (46) and sleeve (45). Remove the other lockring (48) from the groove in the center of valve (44). 23. Remove valve (44), sleeve (49) and piston (51). Remove the O-ring seal from sleeve (49).24. Remove pin (50) and lever (52). 25. Use tool (B) to hold spring (54) in compression for removal of ring (53). Spring (54) is used to put a preload on the thrust bearing for the camshaft in the fuel injection pump housing.26. Remove ring (53) and tool (B). 27. Remove bearing (55), sleeves (56) and spring (54). 28. Remove ring (57) and dashpot assembly (58). 29. Use tool (C) to remove snap ring (64). Remove ring (63) and spool (62).30. Remove seat (61) from spring (60) and remove spring (60) from seat (59). 31. Remove spring (overfueling spring) (65) and riser (66). 32. Remove ring (67), races (68) and bearing (69). Make a replacement of shield (70) any time it is removed.33. Use a screwdriver to remove shield (70) as shown. 34. Remove bolts (71) and carrier (72). 35. Remove dowels (73) and flyweights (75).36. Remove shaft (74) and the dowel from shaft (74). 37. Remove races (76) and bearing (77).Assemble Governor
Put clean oil on all parts before assembly. Be sure all