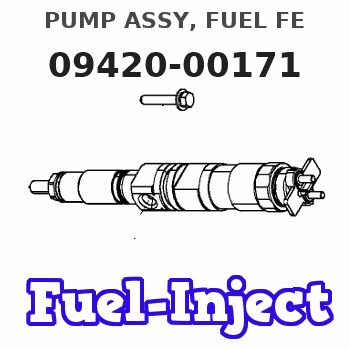
Information pump assy, fuel fe
Rating:
Scheme ###:

| 000. | [01] | 09420-00171 | PUMP ASSY, FUEL FE | |
| 001. | [01] | 09421-00050 | HOUSING SUB-ASSY, | |
| 001. | [01] | 09421-00110 | HOUSING SUB-ASSY, | |
| 002. | [01] | 09423-10050 | CASING, FEED PUMP | |
| 003. | [01] | 09423-00040 | PUMP SUB-ASSY, FUE | |
| 004. | [01] | 09424-10040 | PLATE, FEED PUMP S | |
| 005. | [01] | 09424-40040 | PLATE, FEED PUMP S | |
| 006. | [01] | 09425-10050 | COVER, FEED PUMP | |
| 007. | [04] | 09408-20040 | SCREW, SUPPLY PUMP | |
| 008. | [01] | 09408-60200 | O-RING, SUPPLY PUM | |
| 009. | [01] | 09408-70040 | SEAL, SUPPLY PUMP | |
| 009. | [01] | 09408-70060 | SEAL, SUPPLY PUMP | |
| 010. | [01] | 09420-50060 | KEY | |
| 010. | [01] | 09420-50030 | KEY | |
| 011. | [02] | 09212-40010 | SPRING, FEED PUMP | ME702221 |
| 012. | [02] | 09212-10011 | VALVE, FEED PUMP C | ME702220 |
| 013. | [02] | 09212-60010 | PLUG, FEED PUMP CH | ME702223 |
| 014. | [02] | 09212-50010 | GASKET, CHECK VALV | ME702222 |
| 015. | [02] | 09031-70060 | PLUG, SCREW | ME702176 |
| 016. | [02] | 94901-81500 | WASHER, COPPER PLA | ME702247 |
| 017. | [04] | 94904-43320 | BOLT | ME736014 |
| 018. | [04] | 09022-20070 | WASHER, FUEL PIPE | ME702217 |
| 019. | [01] | 94918-00310 | SCREW, HOLLOW | ME702236 |
| 021. | [01] | 09222-00040 | FILTER, FEED PUMP | ME702231 |
| 022. | [01] | 09222-30070 | SCREW, FUEL PIPE H | ME702232 |
| 023. | [01] | 90567-32000 | RING, HOLE SNAP |
Include in #3:
09400-00251
as PUMP ASSY, FUEL FE
09420-00171
Cross reference number
| Part num | Firm num | Firm | Name |
| 09420-00171 | PUMP ASSY, FUEL FE |
Information:
Remove And Install Engine
Start By:a. remove radiatorb. remove hydraulic pumpc. remove crankshaft pulleyd. remove alternatore. remove intake manifoldf. remove starting motorg. remove oil filterh. remove transmission
All wires, hoses, lines and linkage that is disconnected must be tied or wired out of the way to prevent damage when removing engine.
1. Identify and disconnect all electrical connections to the engine. Disconnect hydraulic lines and cab heater hoses. Disconnect all fuel lines and throttle controls. Tie or wire all wires, hoses, lines and linkage out of the way for engine removal.2. Remove front and rear engine mount bolts (1). 3. With the forks of a lift truck positioned together, position forks centered over the engine as illustrated. Install tooling (A) and then run a chain through the existing engine lifting eyes and tooling (A) as illustrated. Raise engine up slightly and start to remove engine. 4. With the engine part of the way out, remove four bolts (2) and remove rear mount bracket (3). Repeat step for the other rear mount bracket. With both rear mount brackets removed, finish removing engine. Weight of the engine is 340 Kg (750 lbs.). At the time of installation, tighten front mount bolts to a torque of 370 50 N m (270 37 lb.ft.) and rear mount bolts to a torque of 100 15 N m (75 11 lb.ft.). Install in the reverse order.End By:a. install transmissionb. install oil filterc. install starting motord. install intake manifolde. install alternatorf. install crankshaft pulleyg. install hydraulic pumph. install radiator